![]()
Why installing Alfresco on Amazon Web Services?
Alfresco is an open source enterprise content management system that allows global organizations to collaborate more effectively across cloud, mobile, hybrid, and on-premise environments. Alfresco on Amazon Web Services allows you to perform document, web, records, and image management and to create collaborative content development environments in the cloud without any local infrastructure at all.
Alfresco comes in three flavors:
- Alfresco Community Edition – the free, open source edition.
- Alfresco Enterprise Edition – commercial and proprietary licensed open source and enterprise scale version. Supports clustering which allows scaling and high availability.
- Alfresco Cloud Edition – SaaS version of Alfresco.
It also supports integration with other tools:
- Desktop Integration: Microsoft Office, OpenOffice.org, LibreOffice
- Online Integration: Google Docs
- Authentication Support: NTLM, LDAP, Kerberos, CAS
- Database Support: MySQL, PostgreSQL, Oracle, Microsoft SQL Server, IBM DB2
- Repository Access: CIFS/SMB, FTP, WebDAV, NFS
Apart from the above integrations, Alfresco can also play nicely with lots of third-party service providers like SAP, Salesforce, AUTOCAD, LifeRay, and MuleSoft.
In this post, we will walk you through installing Alfresco on Amazon Web Services.
Environment Details
- Operating System: Amazon Linux
- Ports for Alfresco: 8080, 8005, 8443, 8009, 20, 21, 50500, 7070, 8100
- Alfresco Version: Alfresco Community 5.0.c
Prerequisites
Instance Type:
To successfully run Alfresco on Amazon Web Services, we need an instance with at least 2.0GB of RAM. Less is simply not enough to run Alfresco for either test or production purposes. However, you should preferably have at least 4.0GB of RAM. Therefore, the minimum recommended instance type on AWS is m3.medium.
Preparation Steps
As a part of preparation steps, we need to download Alfresco Community Edition on our Amazon Linux instance.
Alfresco Download Link: http://www.alfresco.com/alfresco-community-download
Use:
# wget http://dl.alfresco.com/release/community/5.0.c-build-00145/alfresco-community-5.0.c-installer-linux-x64.bin
Once the package is downloaded, modify the package’s permission so it’s executable:
# sudo chmod +x alfresco-community-5.0.c-installer-linux-x64.bin
Installation Steps
To run the Alfresco Community executable:
# sudo ./alfresco-community-5.0.c-installer-linux-x64.bin
Once the installation procedure starts, it will prompt us with a few questions:
1. Language Selection
Please select the installation language [1] English - English [2] French - Français [3] Spanish - Español [4] Italian - Italiano [5] German - Deutsch [6] Japanese - æ¥æ¬èª [7] Dutch - Nederlands [8] Russian - Ð ÑÑÑкий [9] Simplified Chinese - ç®ä½ä¸æ [10] Norwegian - Norsk bokmÃ¥l [11] Brazilian Portuguese - Português Brasileiro Please choose an option [1] : 1
2. Installation type
----------------------------------------------------------------------------
Welcome to the Alfresco Community Setup Wizard.
----------------------------------------------------------------------------
Installation Type
[1] Easy - Installs servers with the default configuration
[2] Advanced - Configures server ports and service properties.: Also choose optional components to install.
Please choose an option [1] : 2
3. Components to install
----------------------------------------------------------------------------
Select the components you want to install; clear the components you do not want to install. Click Next when you are ready to continue.
Java [Y/n] :Y
PostgreSQL [Y/n] :Y
Alfresco : Y (Cannot be edited)
Solr1 [y/N] : y
Solr4 [Y/n] :Y
SharePoint [Y/n] :Y
Web Quick Start [y/N] : y
Google Docs Integration [Y/n] :Y
LibreOffice [Y/n] :Y
Is the selection above correct? [Y/n]: Y
----------------------------------------------------------------------------
4. Installation folder
----------------------------------------------------------------------------
Installation Folder
Please choose a folder to install Alfresco Community
Select a folder [/opt/alfresco-5.0.c]: /opt/alfresco
----------------------------------------------------------------------------
5. Database server parameters
----------------------------------------------------------------------------
Please enter the port of your database.
Database Server port [5432]:
6. Ports configuration
Tomcat Port Configuration
----------------------------------------------------------------------------
Please enter the Tomcat configuration parameters you wish to use.
Web Server domain: [127.0.0.1]:
Tomcat Server Port: [8080]:
Tomcat Shutdown Port: [8005]:
Tomcat SSL Port [8443]:
Tomcat AJP Port: [8009]:
Alfresco FTP Port
----------------------------------------------------------------------------
Please choose a port number to use for the integrated Alfresco FTP server.
Port: [21]:
----------------------------------------------------------------------------
Alfresco RMI Port
Please choose a port number for Alfresco to use to execute remote commands.
Port: [50500]:
----------------------------------------------------------------------------
7. Provide administrator password for Alfresco
Admin Password
Please give a password to use for the Alfresco administrator account.
Admin Password: :
Repeat Password: :
----------------------------------------------------------------------------
8. Provide SharePoint port for Alfresco
Alfresco SharePoint Port
Please choose a port number for the SharePoint protocol.
Port: [7070]:
----------------------------------------------------------------------------
9. Setting up the Alfresco Community as a service
Install as a service
You can optionally register Alfresco Community as a service. This way it will
automatically be started every time the machine is started.
Install Alfresco Community as a service? [Y/n]: Y
----------------------------------------------------------------------------
10. Setting up LibreOffice port
LibreOffice Server Port
Please enter the port that the Libreoffice Server will listen to by default.
LibreOffice Server Port [8100]:
----------------------------------------------------------------------------
11. Start Alfresco Community Installation. Alfresco is now ready for installation:
Setup is now ready to begin installing Alfresco Community on your computer.
Do you want to continue? [Y/n]: Y
----------------------------------------------------------------------------
Please wait while Setup installs Alfresco Community on your computer.
Installing
0% ______________ 50% ______________ 100%
##########################
----------------------------------------------------------------------------
12. Launch Alfresco Community Share
Once the Alfresco Community edition installation is completed, we will be advised to view a Readme file and launch Alfresco Community Share.
Setup has finished installing Alfresco Community on your computer.
View Readme File [Y/n]:n
Launch Alfresco Community Share [Y/n]: Y
waiting for server to start.... done
server started
/opt/alfresco/postgresql/scripts/ctl.sh : postgresql started at port 5432
Using CATALINA_BASE:   /opt/alfresco/tomcat
Using CATALINA_HOME:   /opt/alfresco/tomcat
Using CATALINA_TMPDIR: /opt/alfresco/tomcat/temp
Using JRE_HOME:       /opt/alfresco/java
Using CLASSPATH:       /opt/alfresco/tomcat/bin/bootstrap.jar:/opt/alfresco/tomcat/bin/tomcat-juli.jar
Using CATALINA_PID:   /opt/alfresco/tomcat/temp/catalina.pid
Tomcat started.
/opt/alfresco/tomcat/scripts/ctl.sh : tomcat started
Alfresco service initialization has started and Alfresco share will be accessible after a few minutes. It is always a good idea to view your Tomcat logs to ensure Alfresco has initialized properly. Those logs will be available at /opt/alfresco/tomcat/logs/catalina.out.
To view Alfresco share, please navigate to http://<your-public-ip-address>:8080/share.
To quickly verify the functionality of our Alfresco share, we will log in, create a site, upload a document, and view it. Here, a site is a project area in Alfresco where we can easily share content and collaborate with other team members. In an organization, we can have multiple sites for each team. For example, a development site (for a dev team) where they can share and collaborate on all dev-related content.
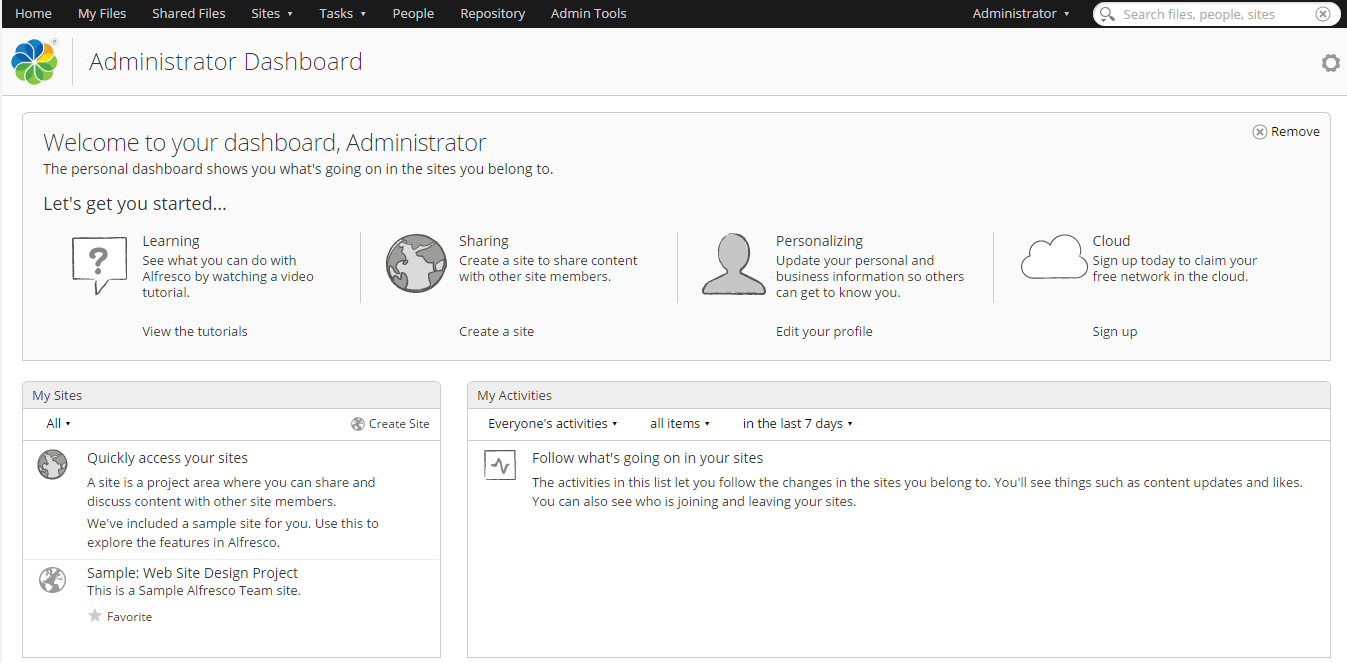
To log in, provide your username and password. The default administrator username is “admin” and password is the one we provided in Step “G” above. Once logged in, we see the default dashboard:
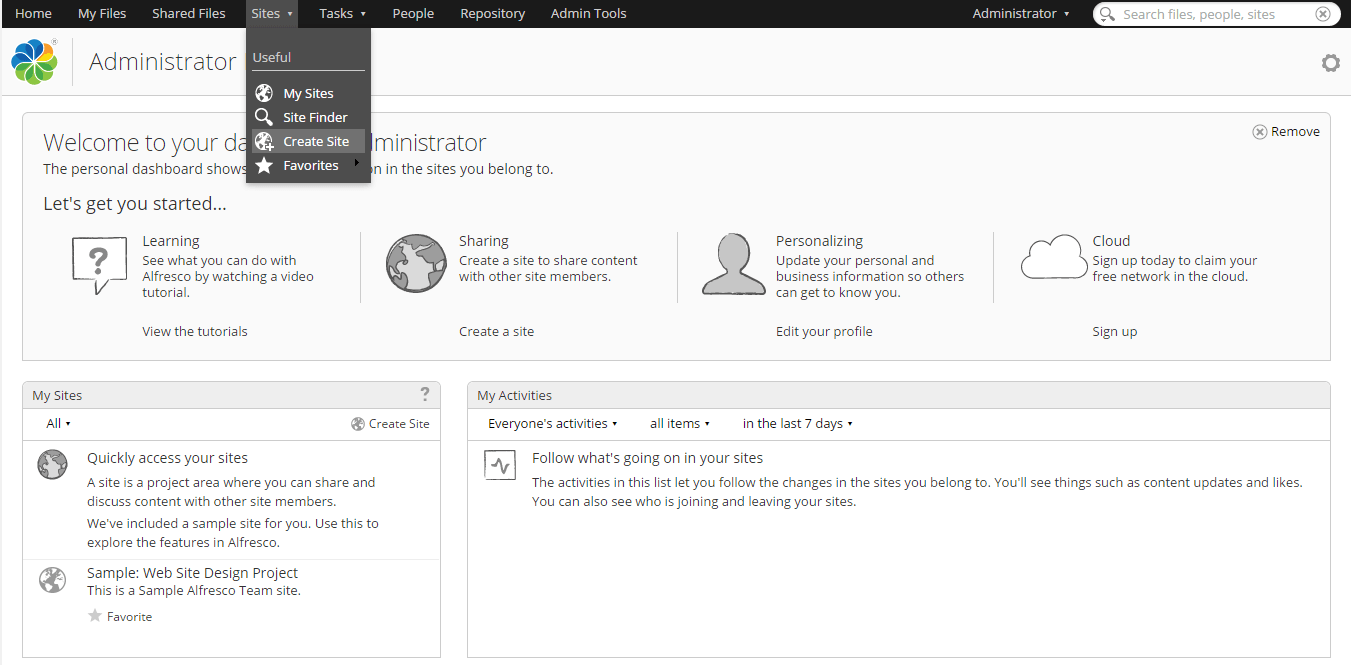
To create a site, click on the Sites tab on the topmost bar, and then Create Site:
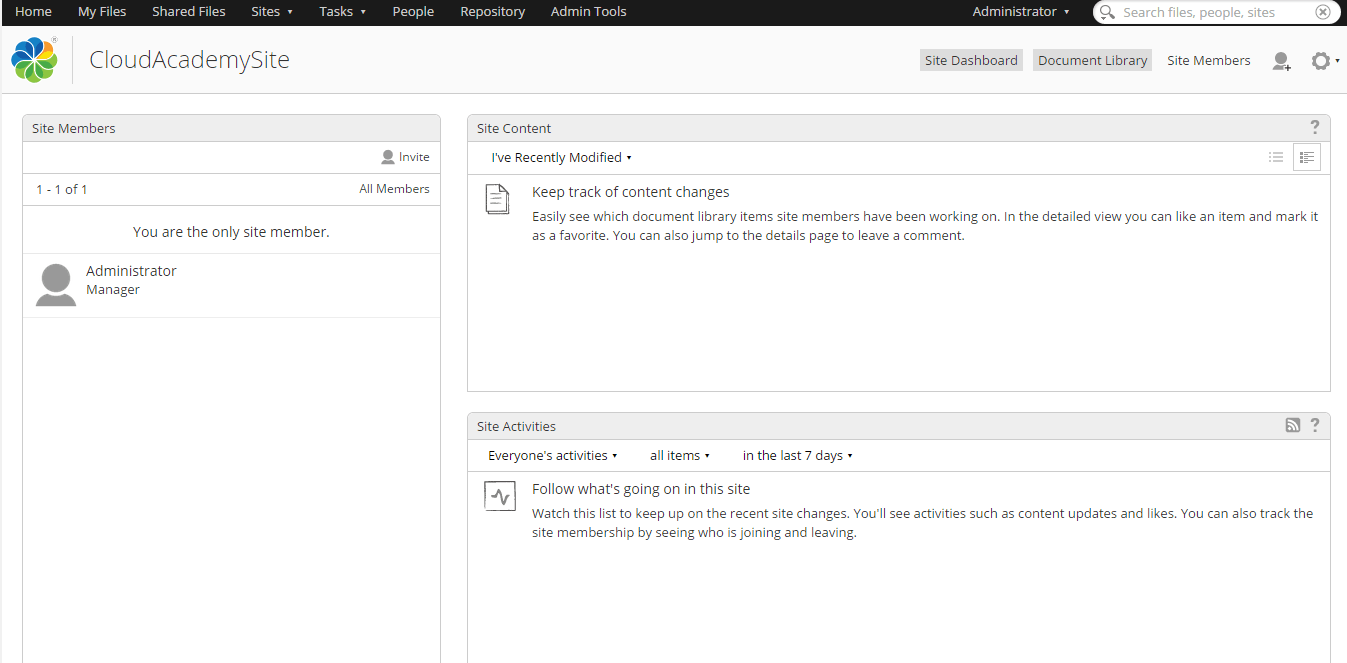
We’ll also need to provide details like a site name, URL name, site description, type and visibility of site:

Once the site is created, the site dashboard will look like this:
Navigate to Document Library and drag and drop a document into this site:

Once the document is uploaded, we can view this document directly in the Alfresco document viewer:
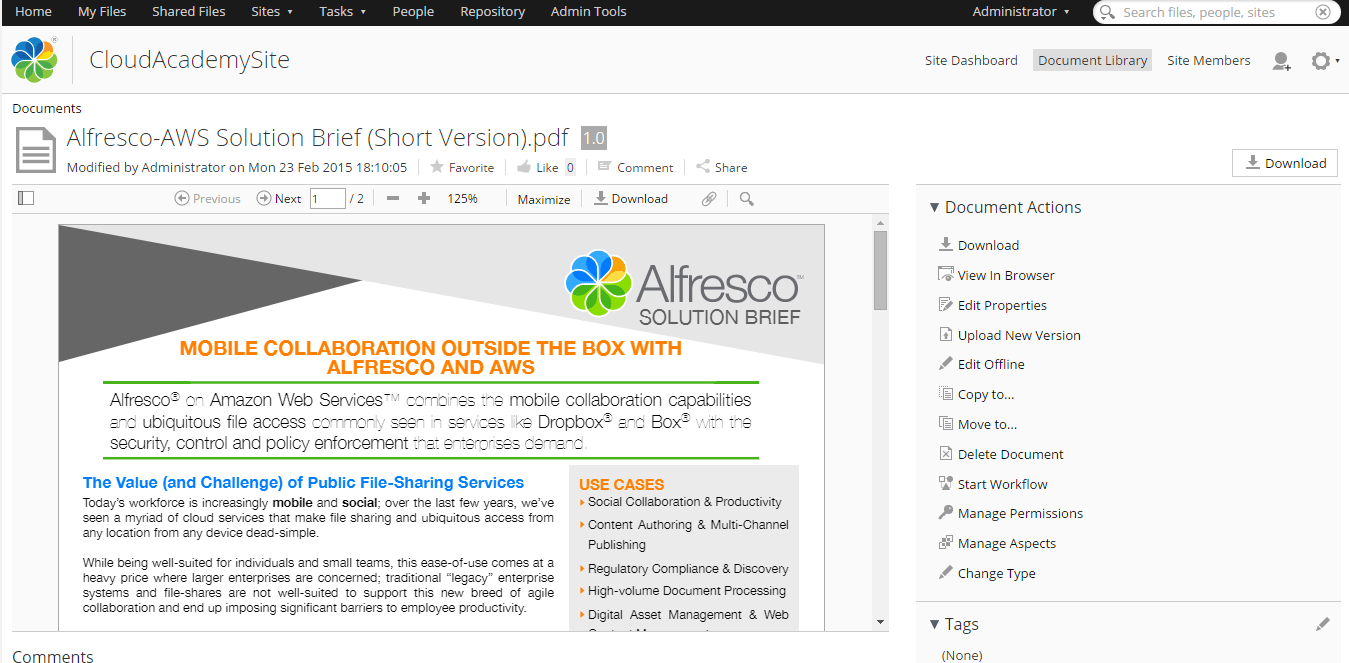
We can also share this document with other site members. They can “like” it, comment on it, edit it offline, and download to their local systems, etc…
Alfresco on Amazon Web Services is a very powerful combination and it is used by thousands of customers all over the world running on the world’s biggest cloud computing platform. In the next post, we will discuss other considerations for running Alfresco on Amazon Web Services.