![]()
Communicating dates and times with another person is pretty simple… right?
“See you at 6 o’clock on Monday” sounds understandable.
But was it a.m. or p.m.? And was your friend in the same time zone as you when you said that? When we need to use and store dates and times on Python, we have the same issues — and even more — since we can express a date and time in many ways. For example:
“July 15, 2019 07:05 pm”
“2019-15-07 19:05:53 CDT”
“2019-07-15T23:05:53.256587-05:00”
1563231953
All of these strings and even the integer expresses the exact same date and time, but they all look very different one from another, right? In this article, we’ll discuss Python datetimes best practices to reduce the complexity when using, formatting, and storing datetimes on a daily basis. Here are the highlights of what we’ll cover:
- Python best practices
- Creating a Python parser
- Creating a Python datetime with a Unix timestamp
- Setting the Python datetime time zone
- Creating datetime ranges
- Getting the current date
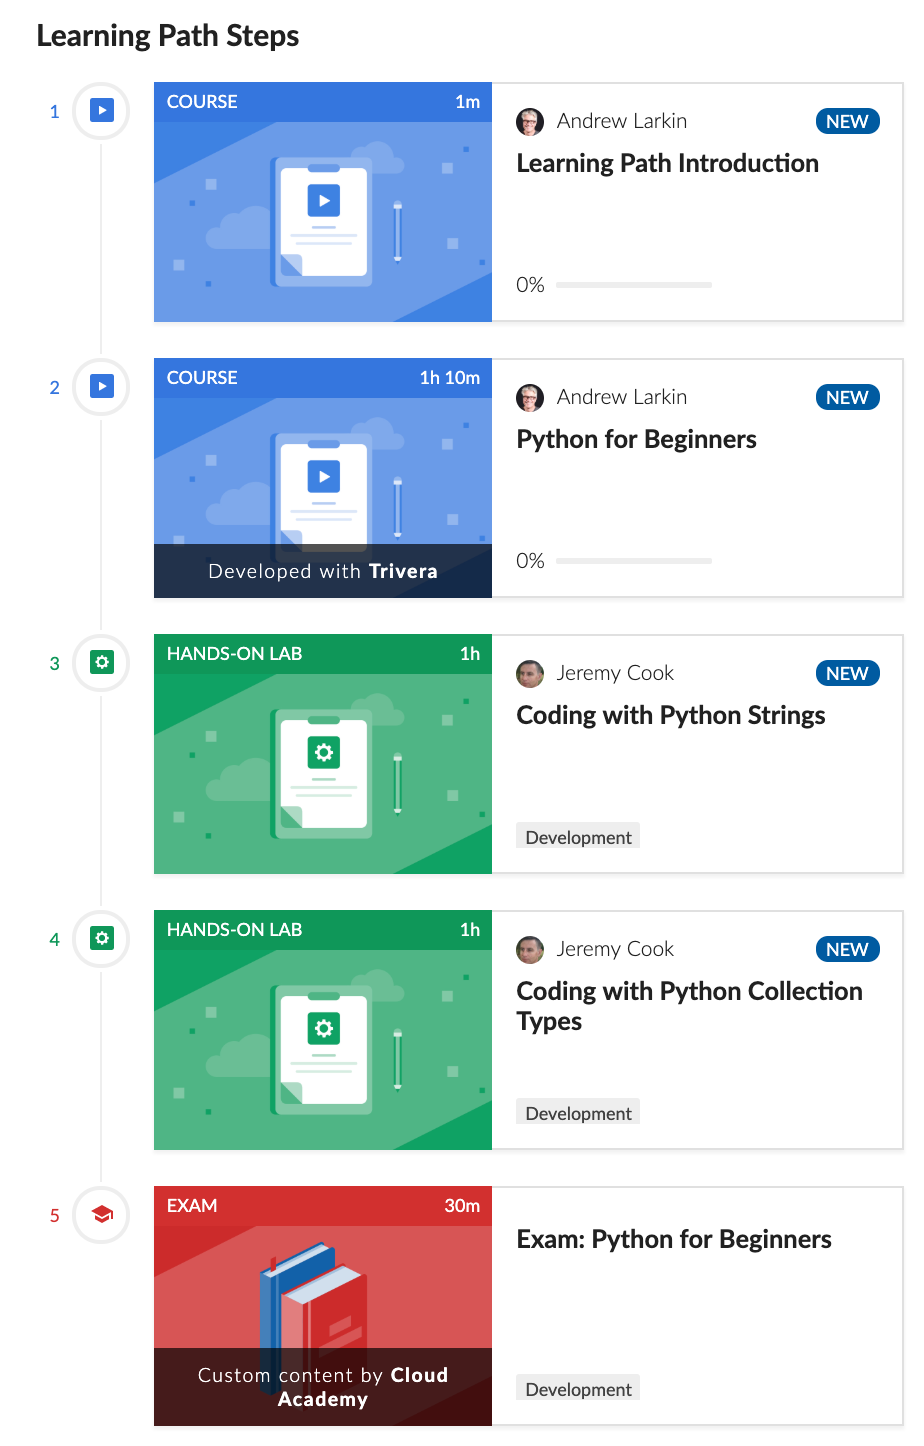
To dive deeper into the basic fundamentals of Python, check out Cloud Academy’s new Python for Beginners Learning Path. It’s designed for people new to programming, providing an ideal entry point for people wanting to learn how to program with the Python scripting language.

Python datetimes best practices
When we talk about a Python datetime format standard, we mean the ISO 8601 (Date and Time Format). This format is used in most of the databases and it has the following structure:
YYYY-MM-DDThh:mm:ss.sss +00:00
or
YYYY-MM-DDThh:mm:ss.sss TZ
But when we show it to the user, we might want to change the way it looks. This is because if we use a tool to get it from the user — like a calendar or select inputs — it can also vary on the way the data is sent to the backend.
Creating a Python parser
Luckily, Python has a parser that understands pretty much all of the cases of a string formatting. For example:
Using the following libraries:
from dateutil.parser import parse
import datetime as dt
from dateutil.tz import tzutc
The parser will actually recognize parameters like these written as text:
first_date = parse('January 31, 2010')
print(type(first_date), first_date)
The type of the object looks like this:
>> parse("<class 'datetime.datetime'> 2010-01-31 00:00:00")
And the object created looks like this:
>> datetime.datetime(2010, 1, 31, 0, 0)
The parser can also understand standard notations like “Sat” for Saturday:
second_date = parse("Sat Oct 11 17:13:46 UTC 2003")
print(type(second_date), second_date)
>> <class 'datetime.datetime'> 2003-10-11 17:13:46+00:00
>> datetime.datetime(2003, 10, 11, 17, 13, 46, tzinfo=tzutc())
We can also directly create a datetime object without the format as following:
my_new_datetime = dt.datetime(2001, 1, 31, 10, 51, 0)
print(my_new_datetime)
>> 2001-01-31 10:51:00
Creating a Python datetime with a Unix timestamp
There’s yet another way to create a Python datetime with a unix timestamp.
The unix timestamp is a system for describing a point in time. It is the number of seconds that have elapsed since 00:00:00 Thursday, 1 January 1970, Coordinated Universal Time (UTC), minus leap seconds. Every day is treated as if it contains exactly 86400 seconds, so leap seconds are to be subtracted since the epoch. It is used widely in Unix-like and many other operating systems and file formats. (Wikipedia, 2019).
The main characteristic of this format is that we get a datetime stored as an integer. So we can directly convert the Unix timestamp to a Python datetime object with the “fromtimestamp” method as follows:
from_unix_datetime = datetime.datetime.fromtimestamp(528756281)
print(from_unix_datetime)
>> datetime.datetime(1986, 10, 4, 2, 14, 41)
Or backwards:
from_datetime_timestamp = dt.datetime.timestamp(from_unix_datetime)
print(from_datetime_timestamp)
>> 528756281.0
Setting the Python datetime time zone
Now an optional — but important — parameter to include is the time zone of the datetime. The default time zone is UTC or the one set on your project. However, if the datetime is captured at a local time (let’s say central time for example) and the database that stores this information has UTC time, then it will have a difference of five hours. This can create a conflict if the server that retrieves this datetime is on eastern time (ET). If you didn’t set the time zone on the creation, there’s a way to add it after with a replace as following:
my_new_datetime.replace(tzinfo=dt.timezone.utc)
Or we can set it on the creation:
dt.datetime(2001, 1, 31, 10, 51, 0, tzinfo=tzutc())
Another thing to take in consideration is the way you import the datetime library, sometimes on the code we need to call the base datetime library and sometimes we need the datetime.datetime which contains different methods. To avoid this, we can call datetime as dt and datetime.datetime as datetime or to call it directly from dt.datetime.
from datetime import datetime
import datetime as dt
Creating datetime ranges
Following with the common Python mistakes, there’s one mistake that happens silently, but it can affect us if we need an exact range of datetimes and our visual calendar tool doesn’t have time selection but only date selection. When we need a datetime range starting from 00:00:00, we can easily add it to the initial date as follows:
today_datetime = dt.datetime.today() # Create a new datetime with today parameters
rounded_date = today_datetime.replace(hour=0, minute=0, second=0, microsecond=0)
print(rounded_date)
>>2019-07-26 00:00:00
We can also add or subtract time to our datetime with a timedelta. The number of days will initialize a new timedelta with a time of 30 days.
time_delta = dt.timedelta(days=30)
print(dt.datetime.today() + time_delta)
>> 2019-08-25 18:46:02.274584
Or compare two datetimes subtracting one from another:
last_week_day = dt.datetime.today() - dt.timedelta(days=7)
print(last_week_day)
>> 2019-07-19 18:49:43.580625
That was easy right? Now let’s use an even easier tool to get single datetime parameters:
Getting the current date
Get the current day of the month:
my_dt = dt.datetime.today()
my_dt.day  >> 31
Get the current day of the week (in this case, it is Friday):
my_dt.isoweekday() >> 5
Get the current month of the year (in this case, it is February):
my_dt.month >> 2
Get the year:
my_dt.year >> 2019
Finally, an issue that we don’t usually take in consideration: What happens when we set a datetime object as a value on a payload and then we send this as the data of a request?
current_datetime = dt.datetime.today()
requests.get(url="http://test_endpoint.com", json={ "date": current_datetime})
>> TypeError: Object of type datetime is not JSON serializable
Most of the Python requests libraries won’t accept a datetime, date, or time type object. First, we need to convert it to a string or integer. Since the standard is the ISO 8601 format, we will simply do the following:
requests.get(url="http://test_endpoint.com", json={"date": current_datetime.isoformat()})
Next steps
Once you have the foundational knowledge of datetimes in Python, it will get a lot more easy to work with. After you learn the basics, you’ll be ready to jump into Cloud Academy’s Pythonic Programming Learning Path. This learning path will help you master the advanced features of the Python language to ensure your code clean, concise, readable, and maintainable — or “pythonic”.